Last month when my family took our annual trip to Lake Tahoe, I knew I had to have plenty of food prepped, stored, and ready to go (things aren’t pretty when I’m hungry for too long). Since we stay in a big townhouse/condo with a beautiful kitchen, I always make sure to pack & stock it up with staple food items, a couple of prepped meals, and of course plenty of snacks. I’m sure my family would tell you that this year I went off the deep end. You should have seen how PACKED our truck was when we left. One would think that clothes and snow gear would make up the bulk of what we brought, but nope. This girl is serious about her food & eating so I stocked us up with just about everything we would need for an entire week (or two or three)! I think we had at least 6-8 bags of food PLUS a gigantic Costco sized cooler PLUS a grocery store trip once we arrived in Tahoe. Definitely a little crazy on my behalf, but again… a girl has to eat and if I’m not fed properly, everyone suffers!
In addition to the staple things we brought like fruits, a ton of veggies, cereals, chips, the meals I prepped, bread, etc., I knew I had to bring along a little extra dessert/snack action for myself. Just a little something to nibble on throughout the day or a quick bite I could have before going to sleep! With the hustle and bustle that comes along with traveling before you even leave, I wasn’t left with a ton of extra time to create anything fancy, but I did know that I wanted to make something for myself that was #1 portable, #2 high in protein, #3 delicious (of course), #4 could keep in the fridge for the week and #5 EASY to make! I could have done muffins or something like that, but I always find that those are best eaten within 1-3 days after being made. After that, they turn kind of just meh to me. I could have gone for bars or some kind, but again, I wanted something that would taste absolutely fresh on the first AND last day of our trip.
I don’t think I could have decided on a better option. I had actually forgotten how much I love & adore “pro cheesecake” (protein cheesecake), but after making these cute little guys, I’m happy to report I remember again and will more than likely be putting them into my regular weekly prep rotation! Normally, I make a big pan of them and slice it up for each serving, but that wouldn’t work so well for transport in the truck. Instead, I opted to make individual sized cheesecakes in a muffin pan! These were the PERFECT travel option. They stayed safe in the cooler for the long drive up to Tahoe, stored beautifully in the fridge, and each day I could open the tupperware I had them in, take a bite (or two) if I needed a nibble or pop one in my mouth before bed to satisfy my sweet tooth. By the last day of the trip, the container was empty (duh)! Brilliant!!!
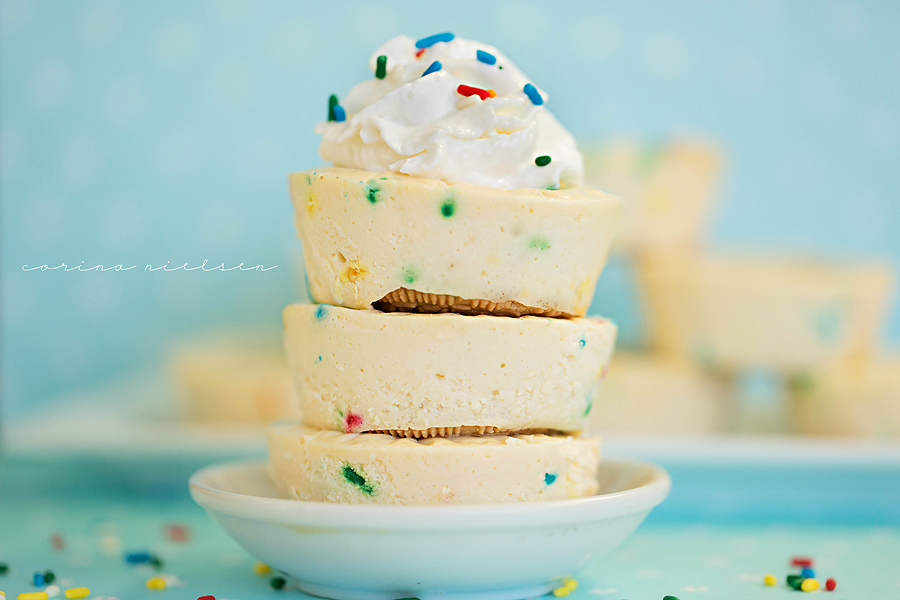
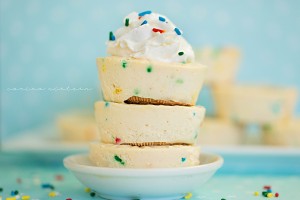
Because everything is better with sprinkles. The more the merrier.
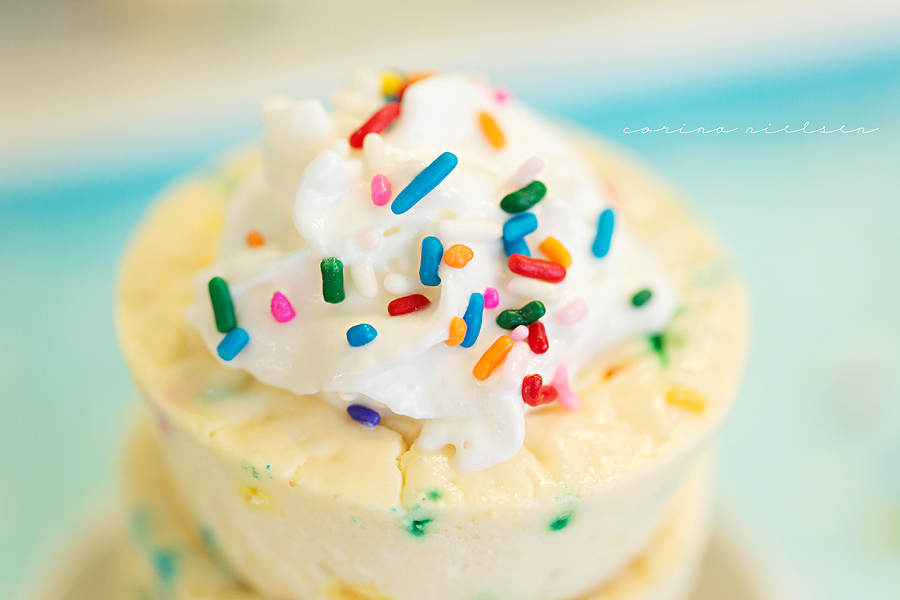
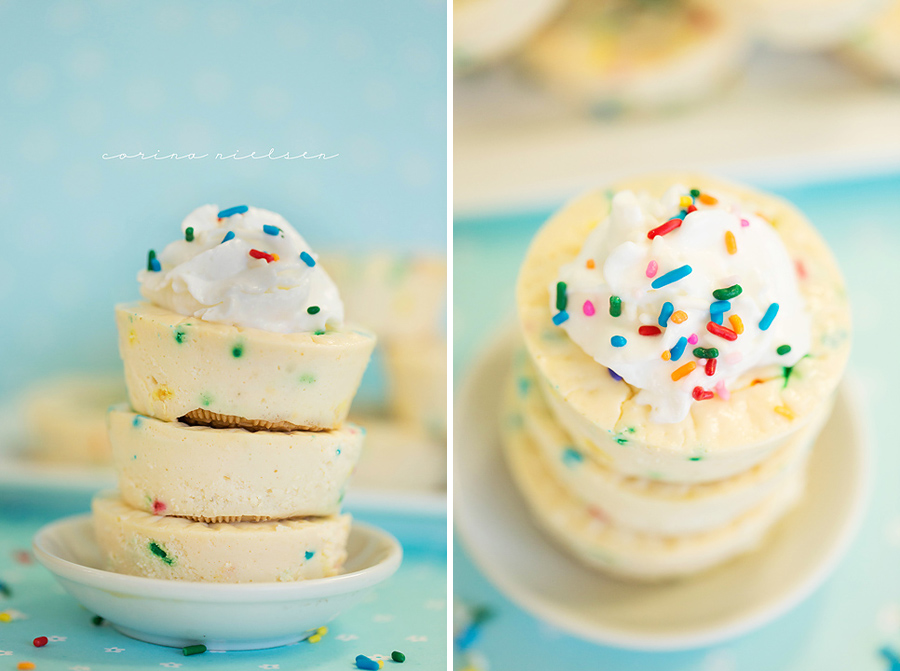
Optional Oreo “crust” isn’t really optional in my humble opinion. A girl’s gotta do what a girl’s gotta do. In this case, it included the Oreo’s.
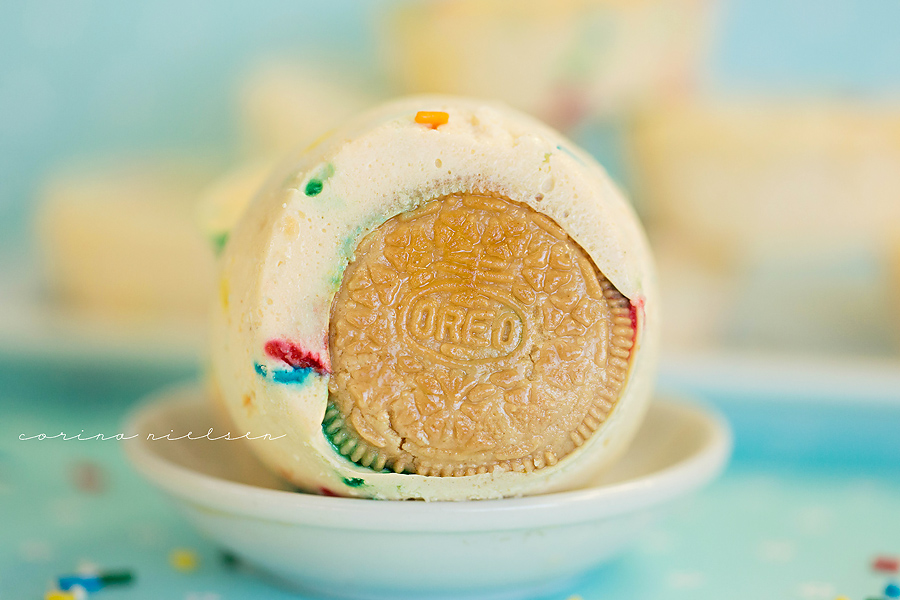
Oreo, cheesecake, sprinkles, whipped cream. Check check check and check.
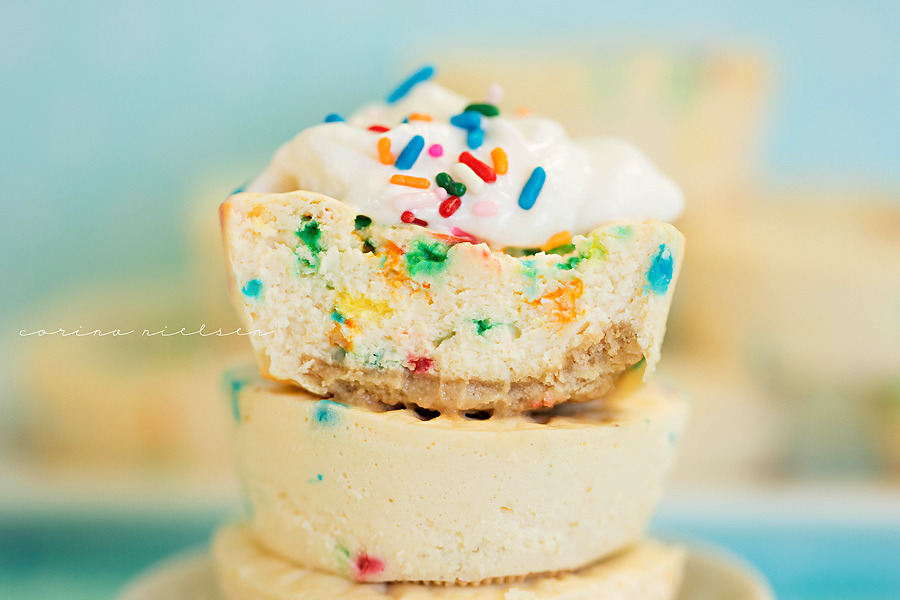
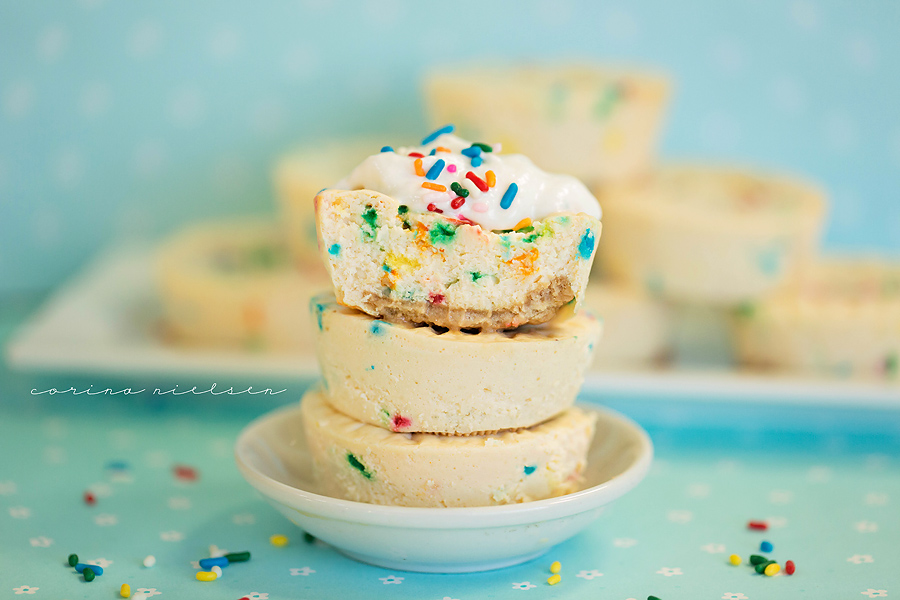
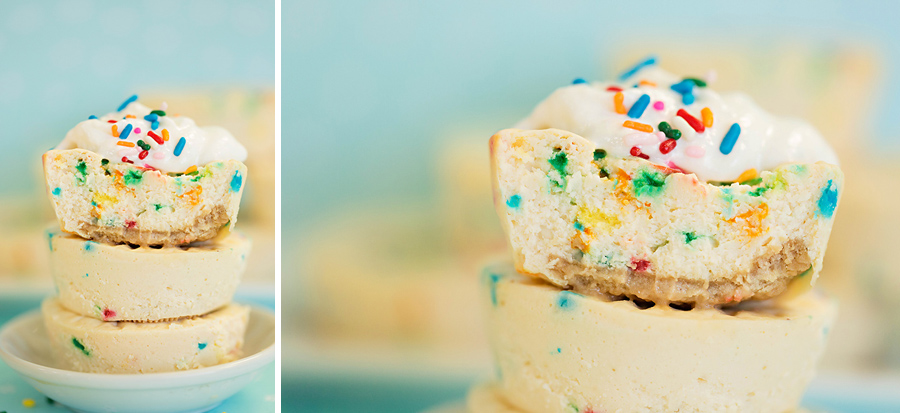
I savored every last bite of these. Did I mention I got to eat the entire batch? Definitely my kinda cheesecake!
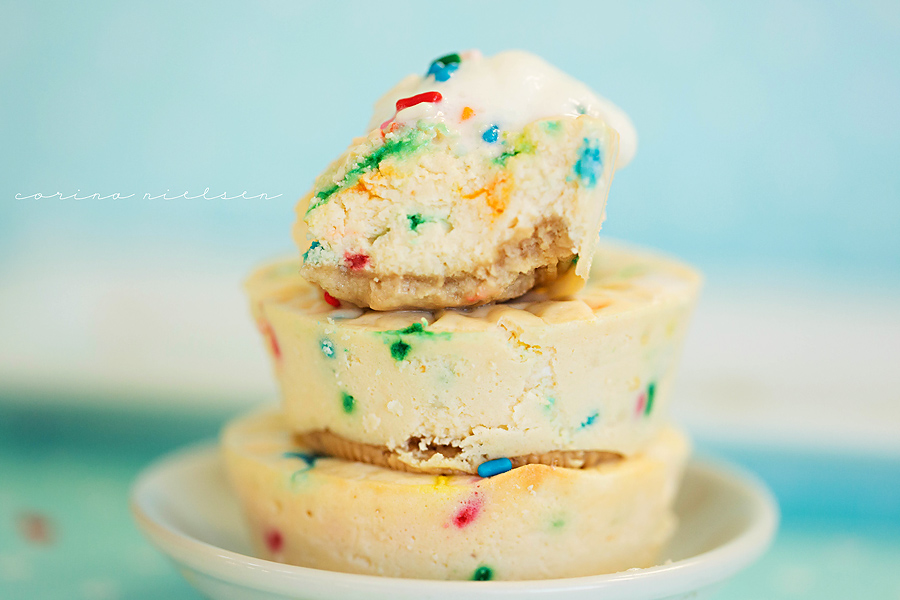
Birthday Cake Mini Cheesecakes
| Serves | 12 |
| Prep time | 5 minutes |
| Cook time | 18 minutes |
| Total time | 23 minutes |
| Meal type | Dessert |
Ingredients
- 12oz fat free cream cheese (softened)
- 1 1/2 cup 0% Plain Greek Yogurt
- 1/4 cup Sweet Leaf Stevia (or sweetener of choice)
- 2 Large whole eggs
- 1/4 cup Cake Batter MuscleEgg egg whites
- 1 teaspoon vanilla extract
- 1 teaspoon butter extract
- 2 scoops Vanilla protein powder
- 2-3 tablespoons cake sprinkles
Optional
- 6 Birthday Cake Oreos (split in half)
Directions
| Step 1 | |
| Preheat oven to 325 degrees. Coat a cupcake/muffin pan (12) with non stick spray and place optional Oreos on the bottoms on the pan. | |
| Step 2 | |
| In a large bowl or in a stand mixer fitted with the whisk attachment, whip cream cheese, Greek yogurt, extracts and stevia for 1-2 minutes until there are no lumps. With mixer on low, add eggs one at a time, and then egg whites. Beat for 1 minute. Slowly add protein powder and beat until completely smooth. Stir in sprinkles. | |
| Step 3 | |
| Divide and pour mixture over each of the Oreos or directly into the pan. Fill as close to the top of each pan as you can without spilling over (these will not rise). | |
| Step 4 | |
| Bake for 18-20 minutes. Do NOT over bake. Cheesecakes will be firm on the outside edges but appear slightly unset in the middle. Remove from oven and let cool completely. They are best served the next day after being refrigerated/cooled over night. | |
Note
NUTRITIONAL INFORMATION (makes 12 mini cheesecakes): calories- 127, fat- 3 grams, carbs- 11 grams, protein- 11 grams (per mini cheesecake WITH optional Oreo)

 Print recipe
6 Comments
Lauren
May 27, 2015 at 7:06 pmThese look amazing! Any tips on how to make the cake batter flavor if using plain egg whites? Thanks!
corina
May 27, 2015 at 7:17 pmYou could find a flavored syrup (ones for coffee) or add some extracts maybe?
Joyce DZ
May 27, 2015 at 8:58 pmI used your code to order Pescience protein. Thank you so much.
Basic Meal Prepping Tips » Live Fit: This is my journey
August 21, 2015 at 4:31 pm[…] * THESE * mini cake batter cheesecakes: […]
Melanie
October 27, 2015 at 5:02 pmThese are amazing!! Finally got around to trying them!! And I just used regular egg whites and PEScience Gourmet Vanilla whey. The butter and vanilla extracts with the protein already give they a very prominent birthday cake flavor!! I did order a cake emulsion (it’s like an extract) but couldn’t wait to make them so I will try it with the emulsion next time but I can’t imagine them being any better!! Thanks for another great recipe!! I didn’t use the Oreo and the macros are great 🙂
Healthy birthday cakes for mini party people | Mum's Grapevine
December 14, 2015 at 11:32 pm[…] These mini cheesecakes made with cream cheese and yoghurt are birthday-fied with a liberal dose of colourful sprinkles. Just add candles and you have a beautiful stack of birthday joy! (via Live Fit) […]