Ghee. Oh em ghee. Where in the world have you been ALL of my life? Perhaps the most fabulous part of eating keto is my discovery of ghee. Hands down one of the most unique and amazing flavors in the world.
Now what’s ghee exactly?
In a nutshell, it’s butter (preferably grass fed) that has been cooked down and ‘clarified’. The heating process removes impurities as well as the milk solids leaving you with the most luxurious, velvety, jar of liquid GOLD you will ever have. I’ll go ahead and assume you have never had ghee let alone made your own so you have no idea what ghee would even taste or smell like. It’s has a very unique flavor profile… it actually smells like caramel and has the most rich, decadent flavor in the world. Sure, butter makes everything better, BUT ghee? An entirely new level of better and I’m beyond thankful that taking a non dairy approach to keto lead me right to ghee!
So how do you get your hands on a golden jar of delicious?
You could purchase some…
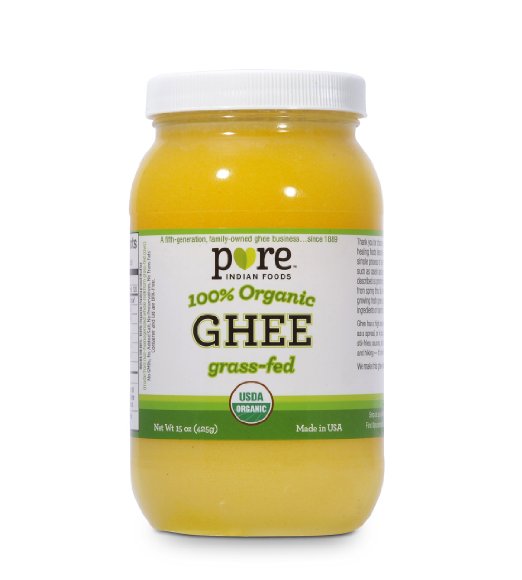
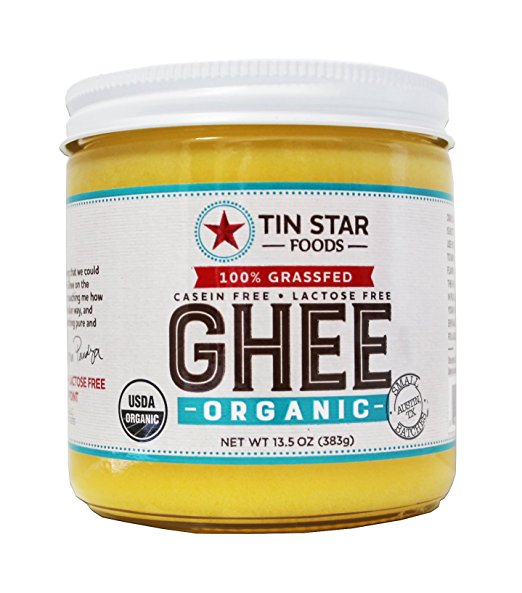
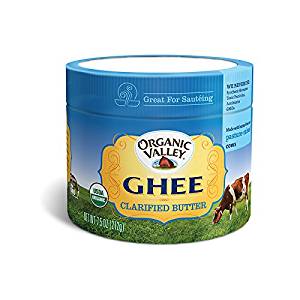
All are perfectly acceptable, but NOTHING compares to making your own. NOTHING! It’s cheaper, it’s so darn easy, and the flavor of homemade is 10X better (which should say a lot because ANY and ALL ghee is tasty).
Lemme show you how I make mine…
You could use a crock pot or even do this on the stove, but I find using my Instant Pot is the quickest and easiest. All you need for this “recipe” is your butter! The amount of bricks you use won’t matter, just depends on how big of a batch you want/need. Personally, I like doing two bricks at a time and that usually lasts me about two weeks (when you eat upwards of 150-160 grams of fat a day AND love ghee so much it goes on ERRRYTHANG, yeah it doesn’t last too long for me)!
When choosing your butter, always try and go for the grass fed varieties. Kerry Gold is my favorite and when you can buy them in bulk at Costco, well that’s just giving on the buttery filled cake! Some suggest using the ‘no salt added’ butter, but I actually prefer the salted one. The flavor seems richer and a LOT of the salt ends up getting cooked and strained out anyways. You choice though, try both and see what you prefer 🙂 If you do go with a salted butter, just make sure to keep a watchful eye on it because the salt CAN and WILL burn if you aren’t careful.
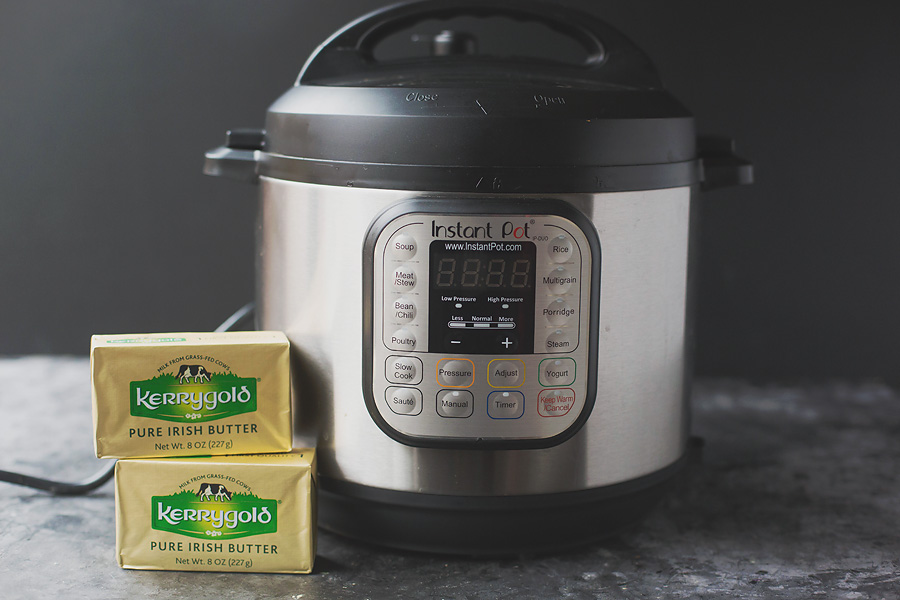
Instant Pot and Kerry Gold… what a sexy combination.

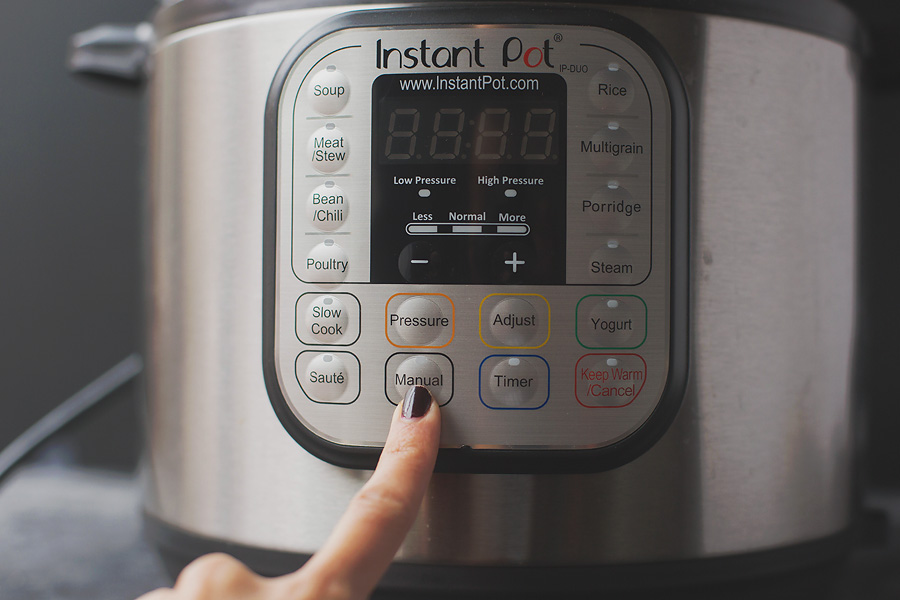
Pretty easy so far huh? Doesn’t get much more difficult from here! Plug in your IP, press MANUAL, then use the + button. Time doesn’t matter too much here, but set to 15-20 minutes just to be safe.
The butter will slowly melt and begin to melt…
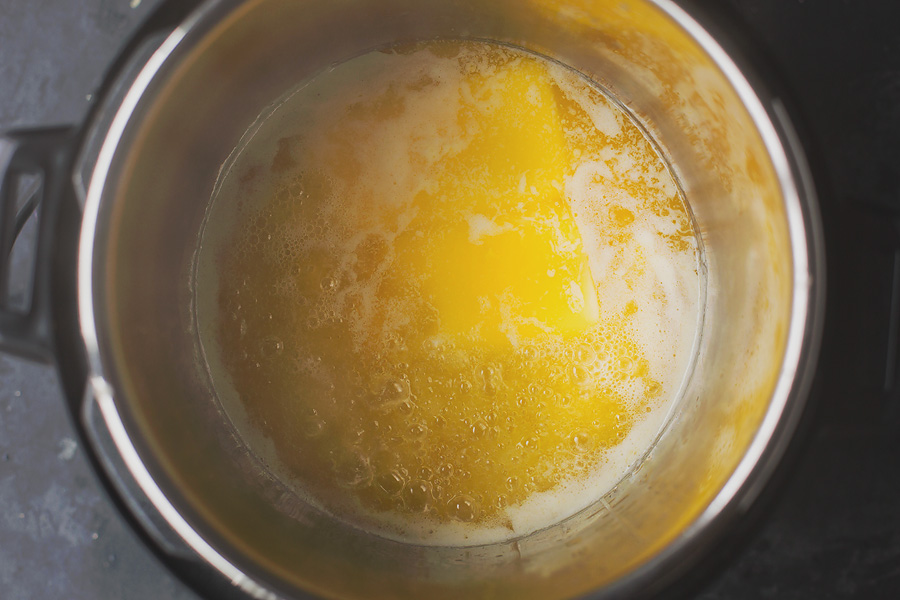
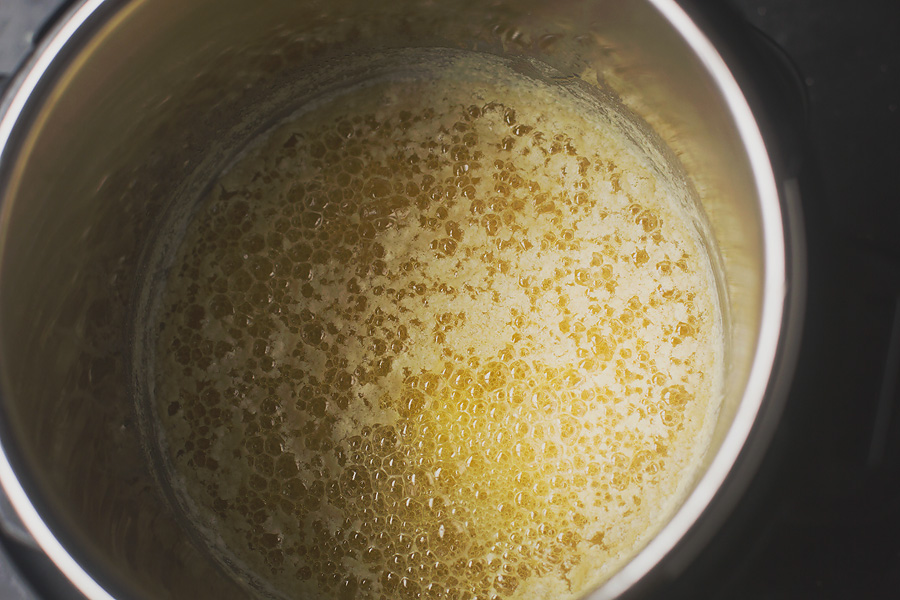
It will begin to bubble and will release a LOT of steam to start off. You can play it safe and use a ‘splatter screen’ like THIS one. This will prevent the splatters from getting on YOU or your counter.
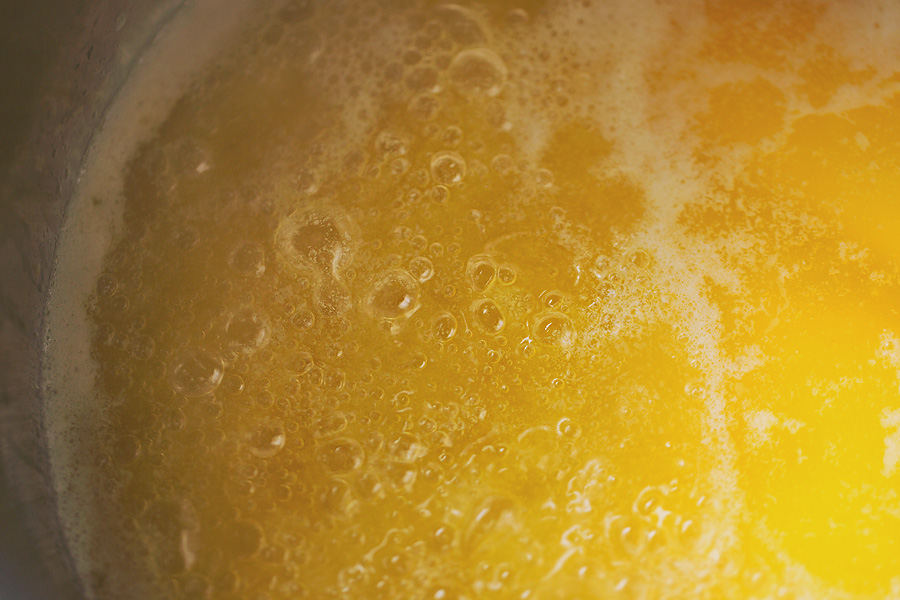
Eventually the steam will die down and you will just see the butter boiling. This is where the ghee magic begins to happen. It’s so fun to watch the process and see how it changes every couple of minutes.
You will begin to see three different and distinct layers in the pot. The bottom is where impurities and the salt will start to sink, the middle is the clarified butter, and the top will produce a thin filmy layer where the lactose and casein have risen to.
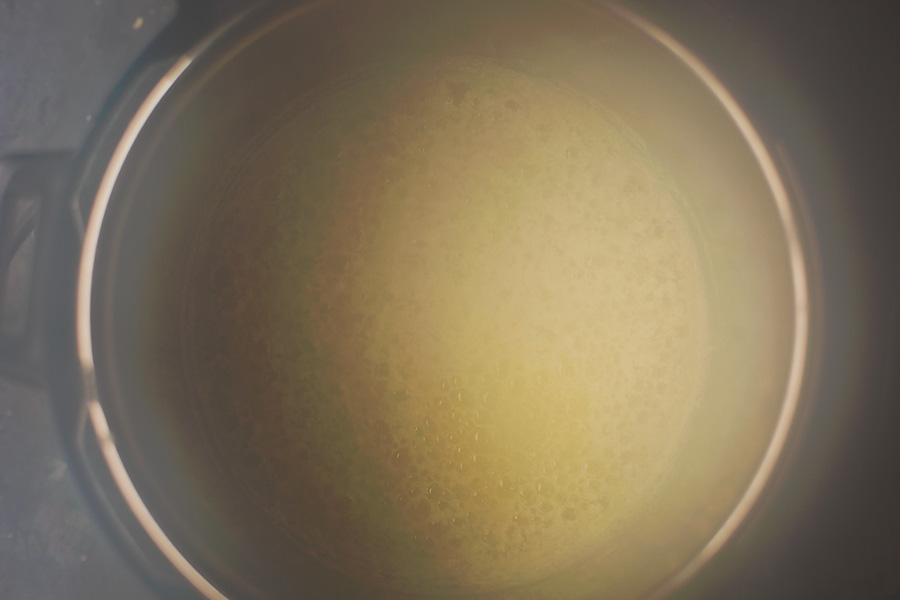
The mixture will settle down and stop bubbling quite so rapidly. The layers will remain though as the butter continues to clarify.
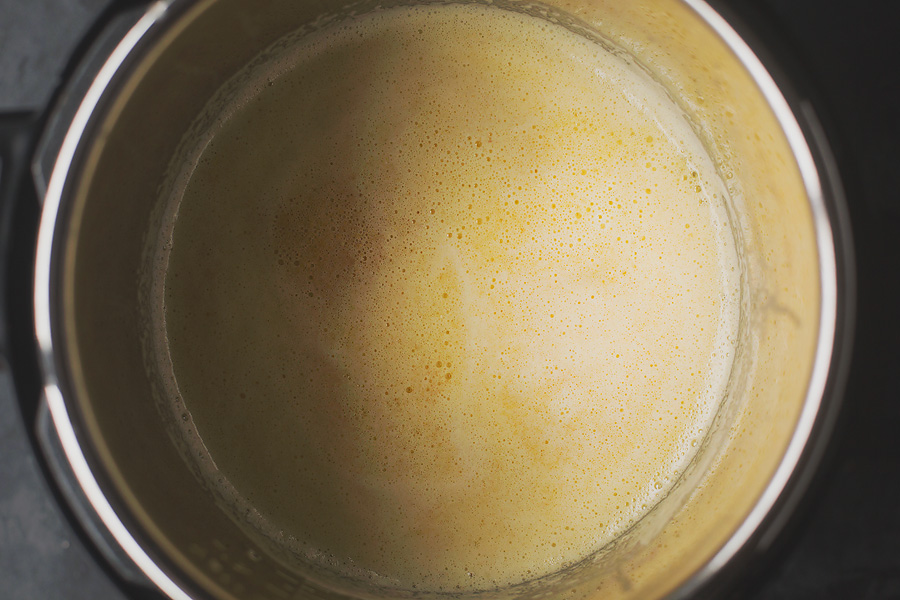
You will know when its done by these indications:
#1 the smell… no doubt what you have just made. Remember that caramel flavor I mentioned earlier? Your entire kitchen & house will be FILLED with it. Its going to smell just like you fired up your favorite scented caramel candle.
#2 the color… deep deep rich golden brown.
#3 the layers… on the bottom you will see the solids (and salt if using salted butter), the clarified butter in the middle, and then a very thin layer or solids on top. Most of those solids will have burned off, but just a little film remains.
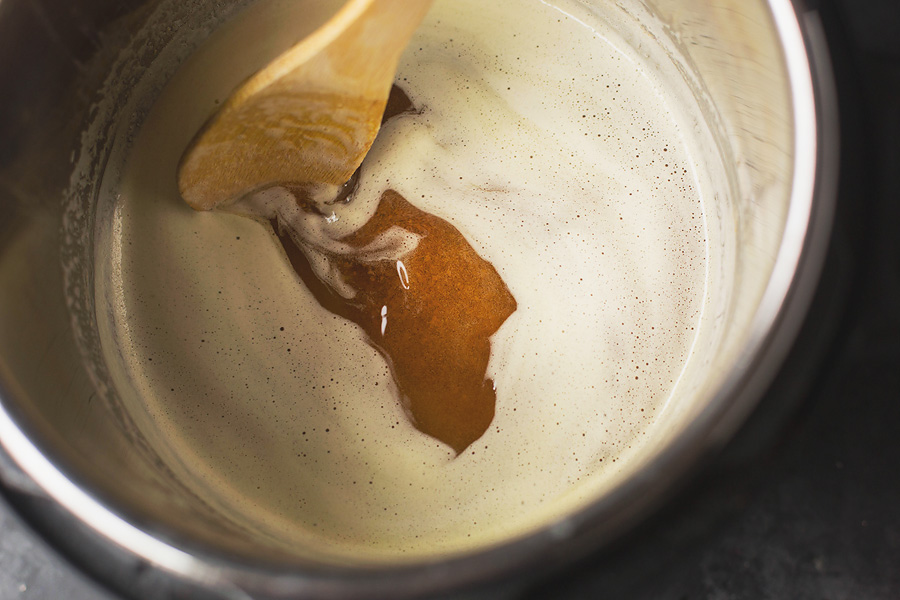
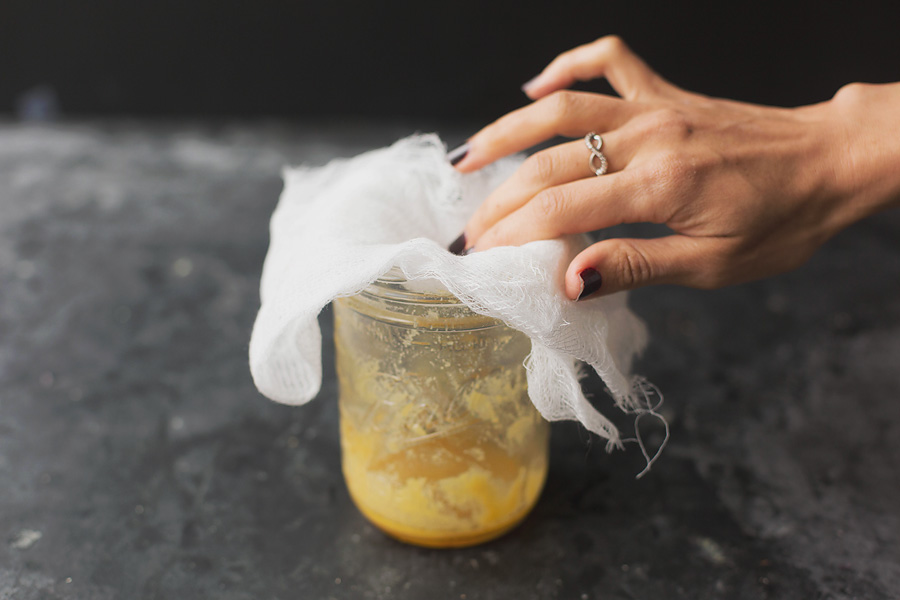
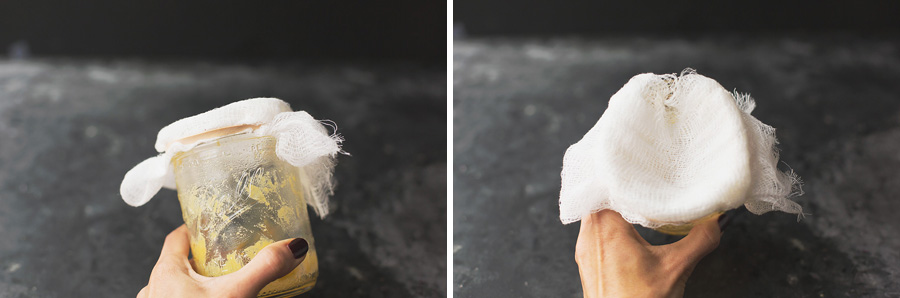
Turn IP off and let cool for 10-15 minutes. Then take your mason jar and get it ready for the new batch! I’ve use a coffee filter and cheesecloth… coffee filter will ensure a more clear clarified butter, but the cheesecloth is quicker draining. Both options work though!
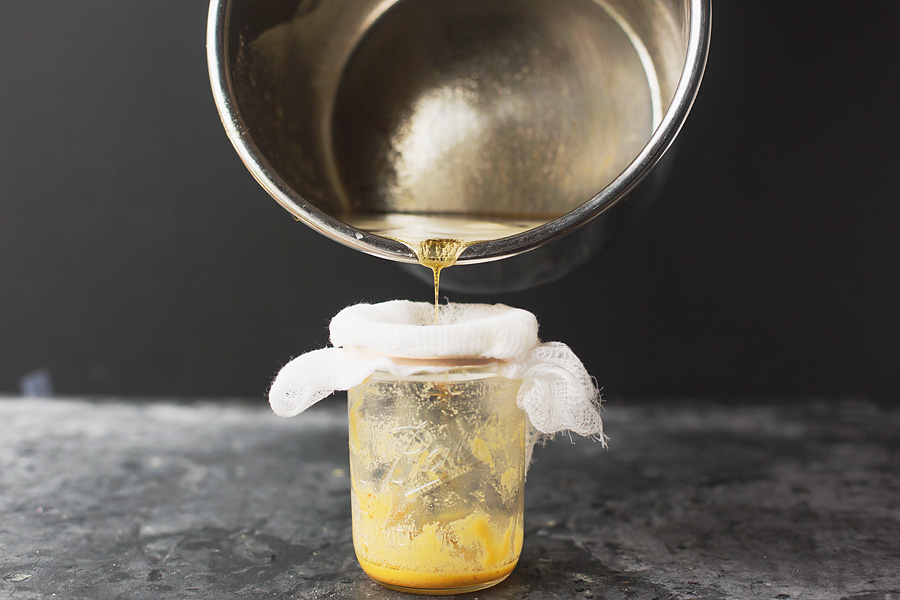
With the cheesecloth (or coffee filter) secured in place, begin to slowly pour the ghee into the jar. Initially it will mainly just be the clarified butter, but prepare for the solids and pour even slower to ensure it doesn’t overfill the strain.
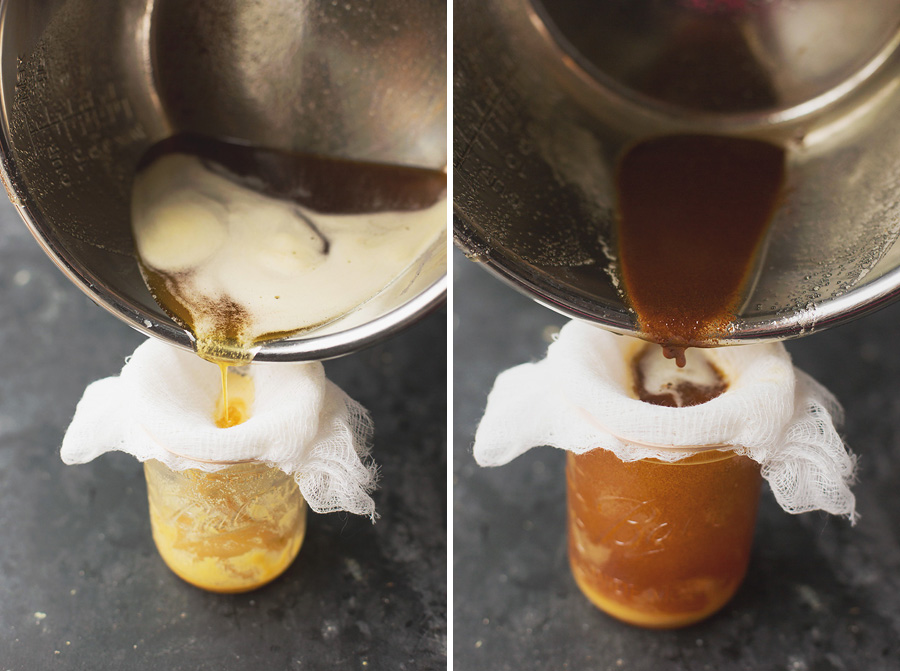
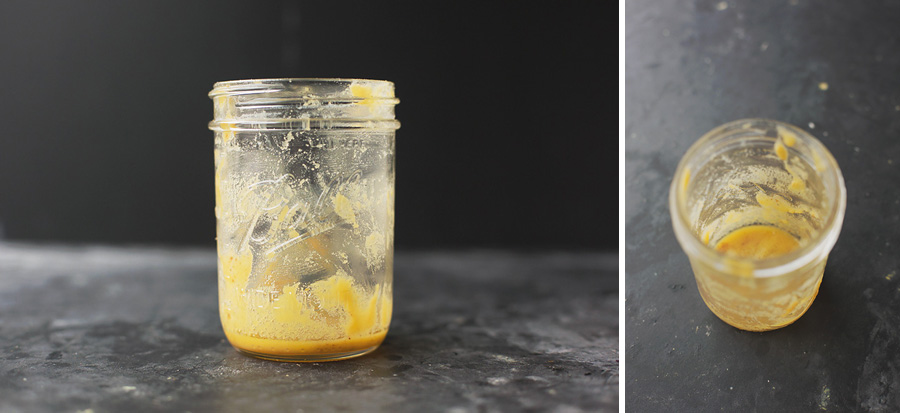
This is all that should remain on top… maybe a little bit of foam as well!

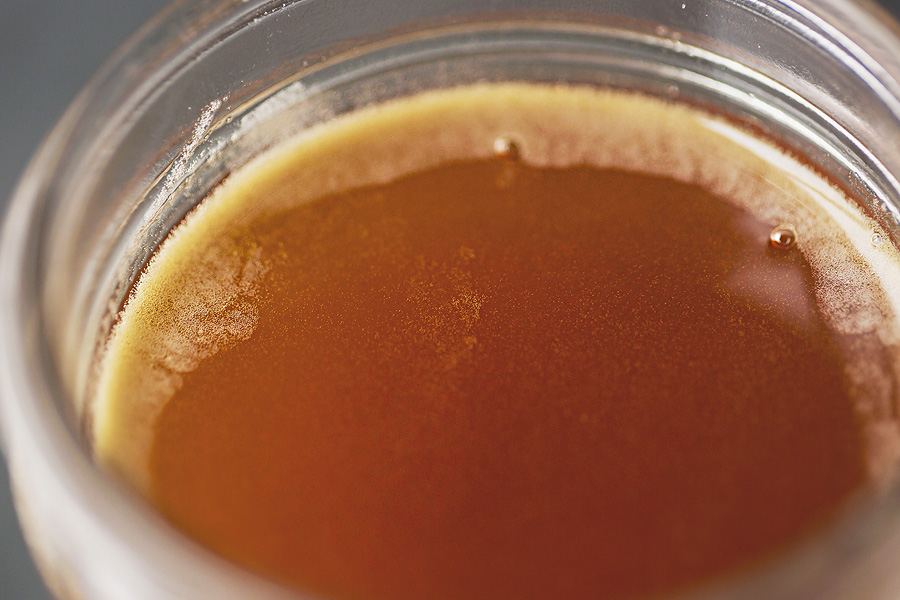
And this is what your left with…. the most amazing, rich, and decadent clarified “butter” you will ever have. Liquid gold I tell ya!!!
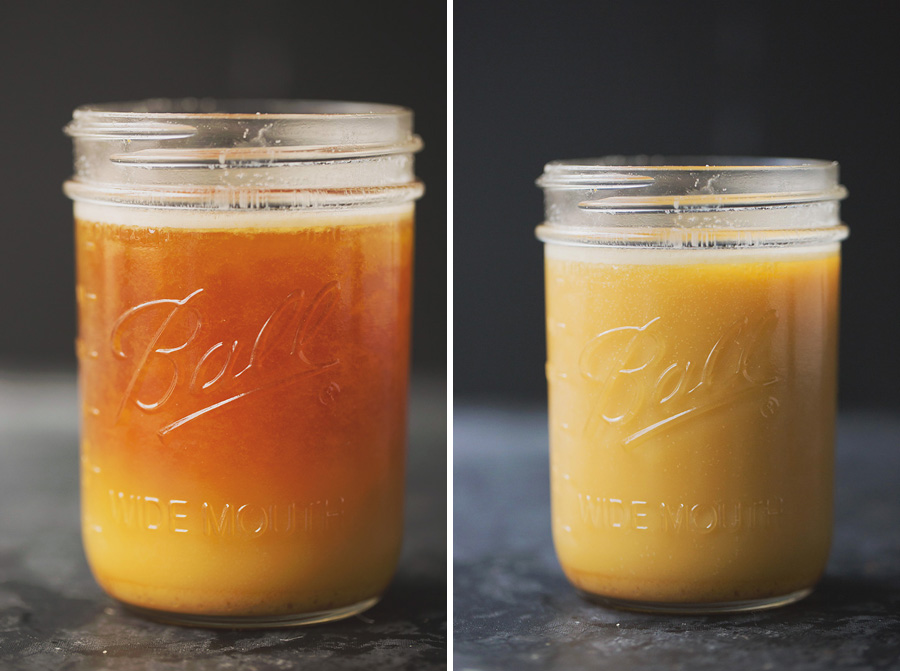
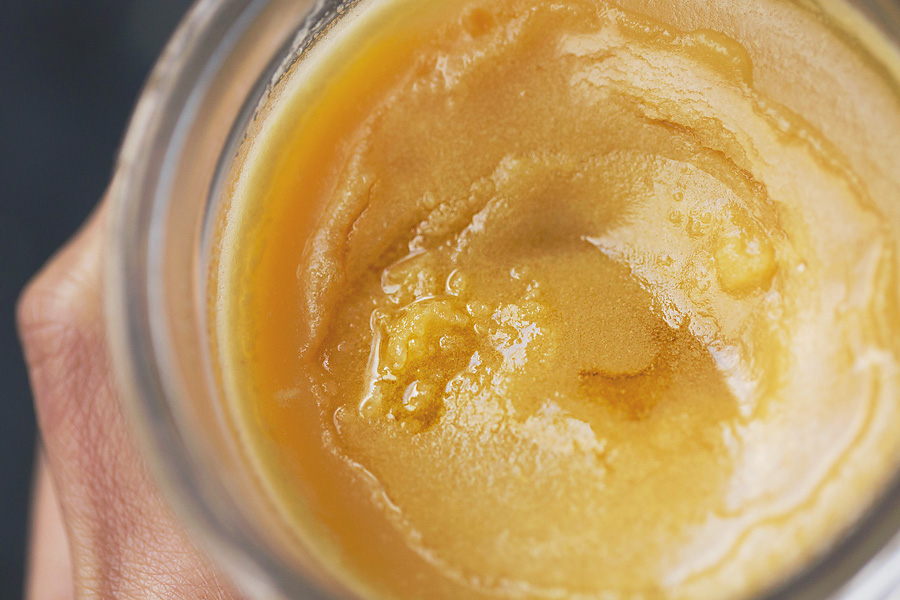
Now just allow your ghee to cool and harden. It will harden in stages, starting at the bottom and moving its way up! The bottom image here isn’t quite hardened completely… but the final mixture will be similar to room temperate butter!
Viola. Now you can use this liquid gold yourself to cook with, bake with, smother veggies & proteins with, add to your bulletproof coffee and teas, smear on your pancakes/toast/waffles, or if you’re anything like I am now… simply open up the jar just to SMELL it! Yes, I absolutely do that a couple of times a day! Super intoxicating aroma 🙂


3 Comments
Heather B
March 6, 2017 at 11:25 pmThank you for sharing, Corina! I’ve ever tried ghee before, but have been wanting to make ghee for some time now. I’ve had an Instant Pot for a few months ago, so had to try your method as soon as I saw it today:) It turned out perfect, just like you said it would! Now I just need to wait for it to firm up so I can taste it.
EASY Homemade Instant Pot GHEE - Recipe Land
March 7, 2017 at 1:33 am[…] more from EASY Homemade Instant Pot GHEE at Live Fit: This Is My […]
marianne
July 30, 2018 at 8:22 pmJust wanted to let you know I’ve used your recipe several times and it turns out perfect every time. Thanks for such a good and easy recipe.