The Sunday after I got my diagnoses, food/meal prep was certainly not on my mind. Dealing with chronic pain is one thing, but I was on serious emotional and mental overload. I contemplated just winging her breakfasts for the week, but knew I would more than likely end up regretting that decision each morning. I can’t express how great it is each morning NOT having to worry about what I’m feeding her! Ultimately, I knew if there was ever a time prepping would be the most beneficial… it would be that week. The whole reason I started doing my daughters breakfast prep to begin with was to make sure that she was getting healthy food in her to start the day AND to save time, energy, and stress each weekday morning. Thats EXACTLY what I needed, more than ever!
Up until this particular week, I was letting her pick two different meal options to alternate between but I needed to streamline a bit because I was limited with what I could do. Oats wouldn’t last the whole week, she would get tired of having smoothies everyday, I didn’t want to bake anything, and I didn’t have enough in my tank to think of anything “out of the box”. I decided that breakfast sandwiches would be perfect. ALWAYS delicious (literally, always), easy to prepare, I could do each component separately so I wouldn’t be on my feet for a long time, AND I could whip up five days worth in no time that would stay fresh in the fridge (or even the freezer).
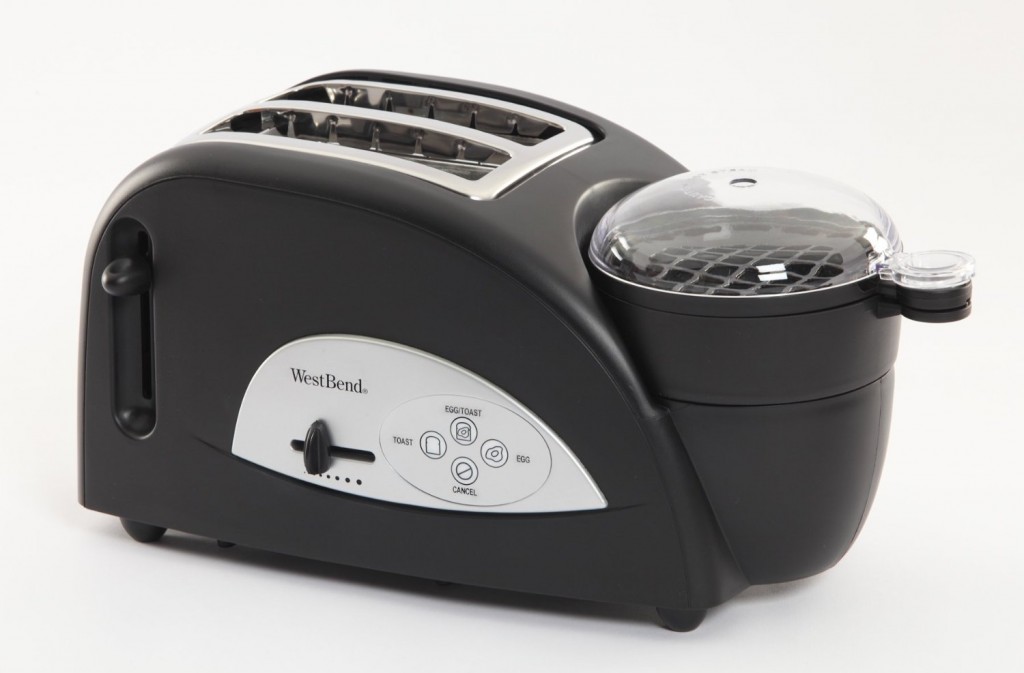
First thing I did was make the protein. Since I’m an overachiever, I wanted to make the egg ‘fit’ perfectly in the sandwich. I could have easily just fried up a big egg and had it folded in the sandwich, but decided to use a handy dandy kitchen appliance that we had gotten as a gift YEARS ago…
It was actually the first time I had used it, but it won’t be the last! This ‘Egg Muffin’ toaster is so cool! It ended up working out great for me because I could get the egg in, press a button, and go back to laying down on the couch while each of them cooked. Again, I’m still in a good deal of pain and can’t stand for too long so ALL of my cooking and baking is done in ‘batches’ now. Anyways, I guess technically, you are supposed to use a whole egg and they cooking time will obviously give you a runny or hard yolk, but I kept things even simpler and used my organic MuscleEgg egg whites instead.
Obviously most people wouldn’t have this contraption laying around (although I highly suggest getting one haha), so if you want to be completely anal and have “perfect” eggs on your sandwich, you could also use ring molds or large circle cookie cutters and cook them on the stove! Same idea, but these would just need to babysit while each of them cooked.
Heated pan, coat with non stick spray, add mold, respray to get the inside edges, pour egg whites/add egg, cover, cook, carefully remove mold once its mostly set, flip, and finish until firm.
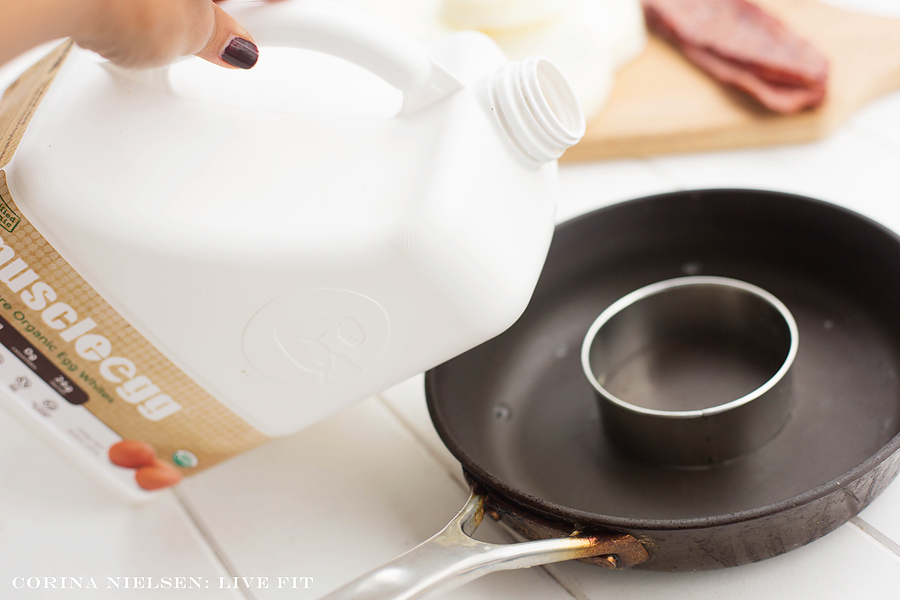
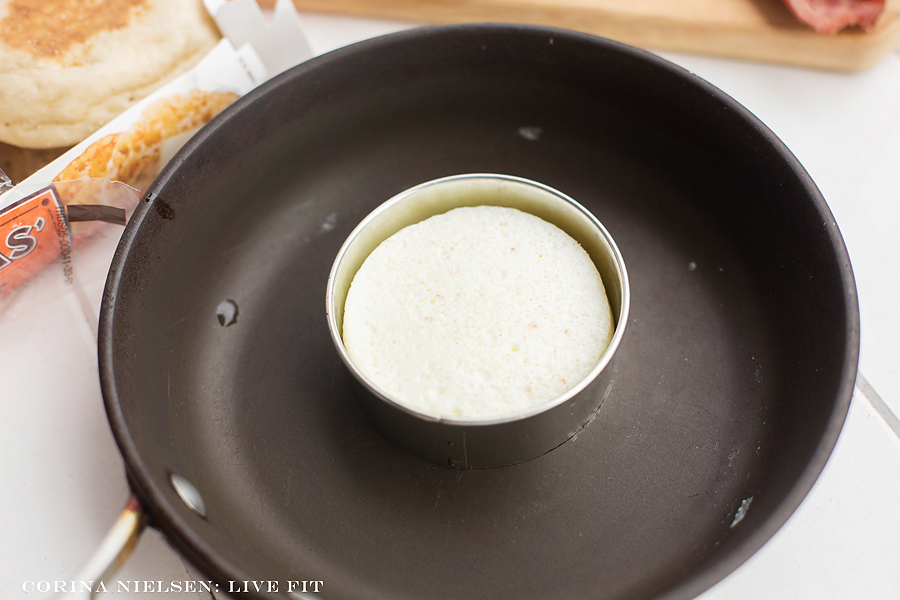
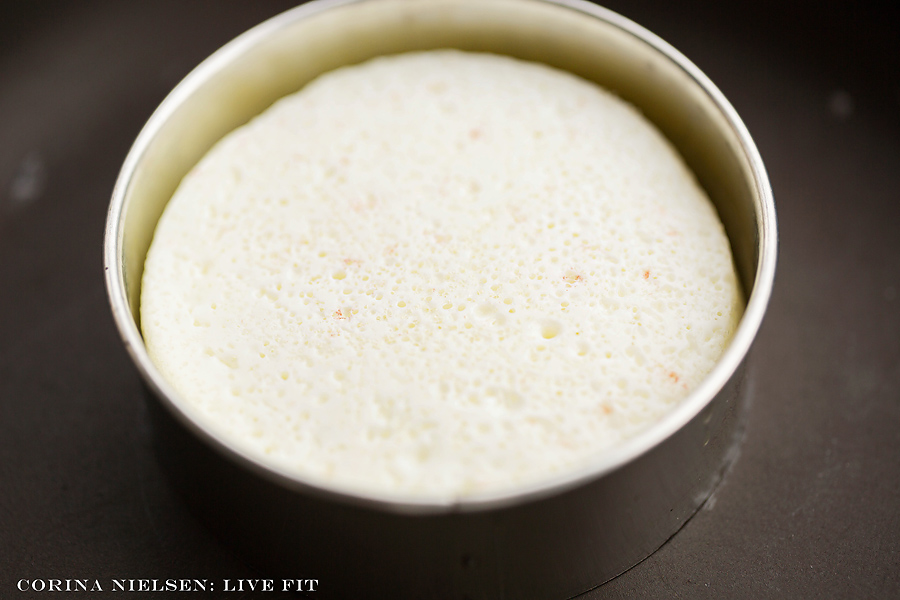
More work for sure, but if you are a perfectionist and really want that circle egg with no overlap on your sandwich … there ya go all you fellow overachievers!
OK, back to my prep…
So while the eggs were doing their thing in the muffin maker, I also threw 5 strips of turkey bacon in a skillet to cook. Easy. Oh and I HIGHLY suggest the Costco turkey bacon by the way. On our last shopping trip there, we realized they stopped selling the brand we have been buying for YEARS. We were so bummed and reluctant to try the new one being offered. We actually prefer it MUCH more. It tastes more like real bacon and its thicker! Delicious!
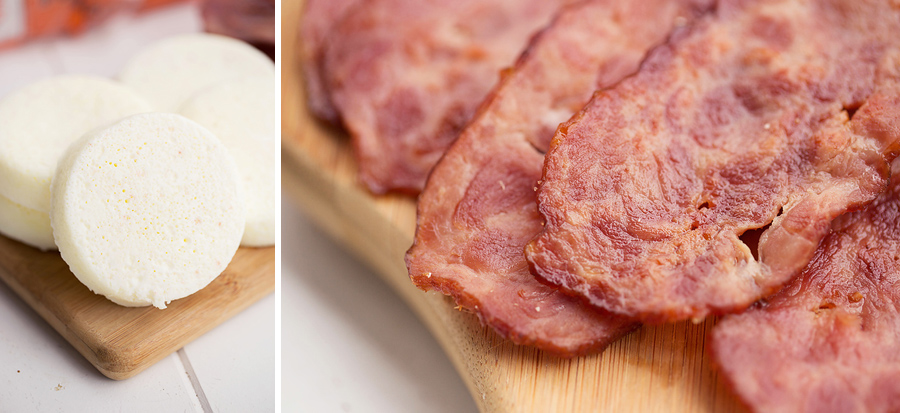
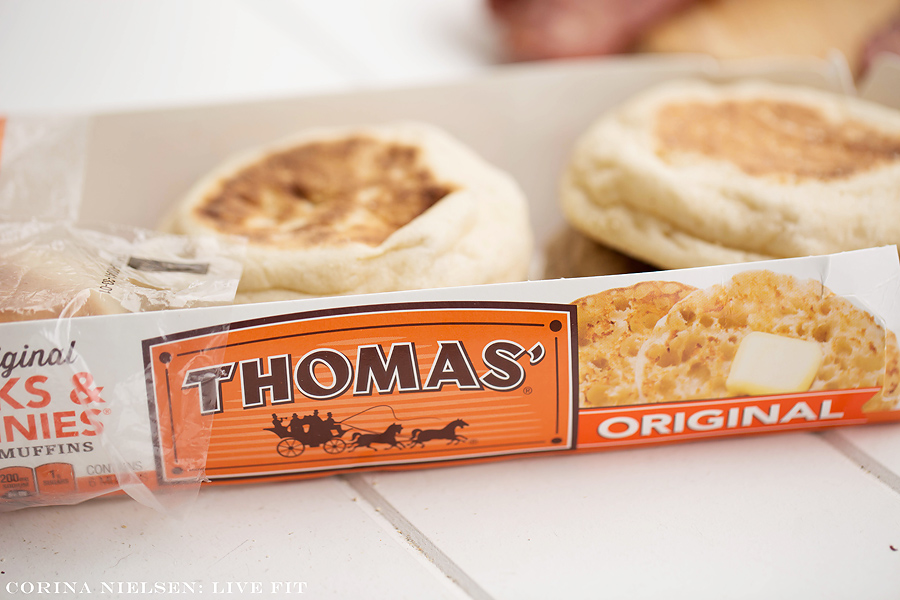
Once the eggs and bacon were ready to go, I grabbed the english muffins and it was time to assemble!
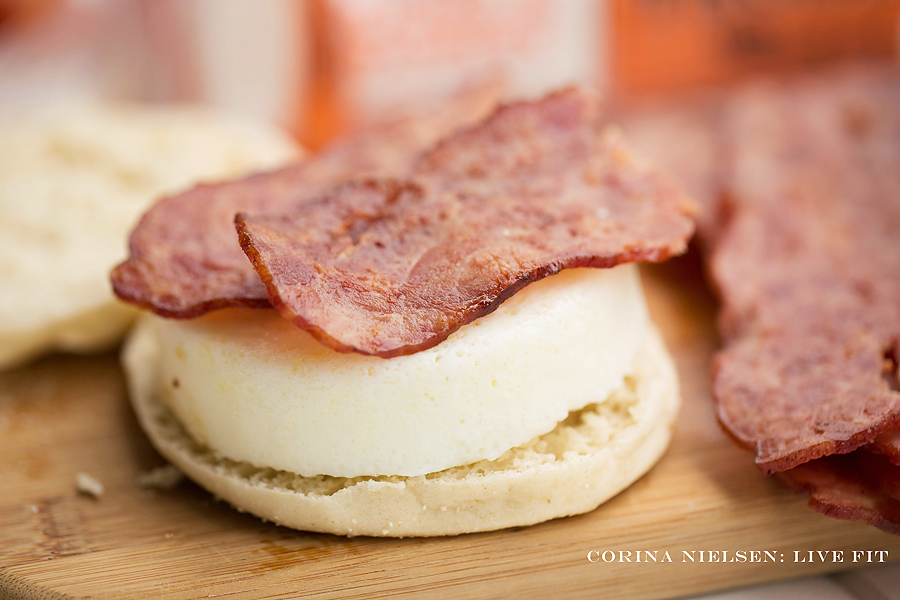
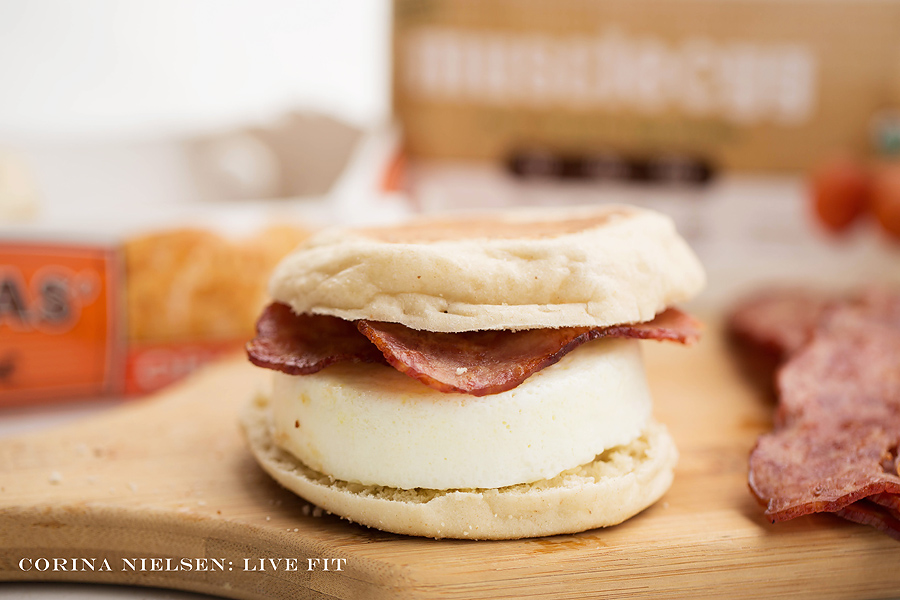
Personally, I would have wanted to add cheese on mine, but my daughter isn’t a fan. Crazy girl…
Next, all I had to do was wrap them up and get them in the fridge!
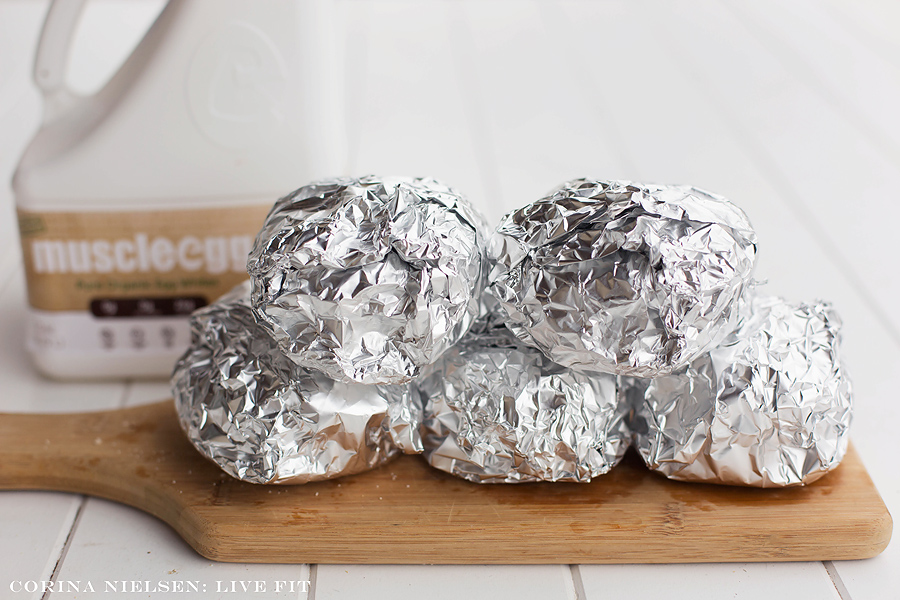
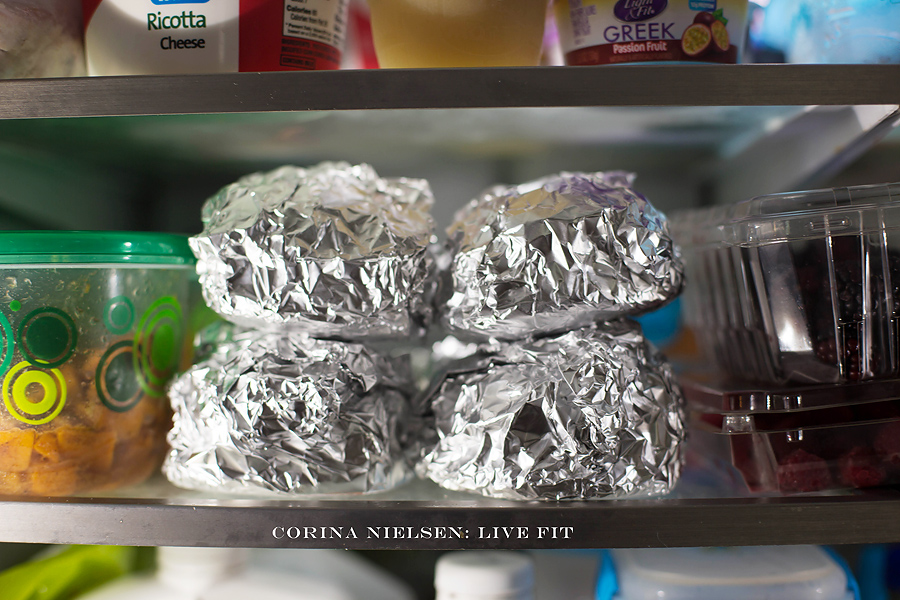
You could easily throw the whole sandwich in the microwave to reheat, but when it came down to eating them each morning, I wanted to make sure they tasted as fresh as possible! I took a sandwich out of the fridge, put the slices of english muffin in the toaster and put the egg and bacon on a plate to microwave separately. Then I just reassembled and put it back in the foil for her to eat in the car!
LOVED this weeks breakfast prep! I may even consider doing a batch of these just to store and keep on hand in the freezer! If you are anything like me, breakfast is great ANY time of the day so these would also make a good lunch, afternoon snack, late night snack, or something to pack and eat on the go!


3 Comments
Abby
October 10, 2015 at 11:03 amSuch a great post, esp dealing with kids. My kid is so picky, this is great!
Side note question: how do you slowly add back in calories after cutting? I’m just finishing a cut from 1400 calories and want to reverse again. But need to get back up to maintanence. Suggestions?! Thank you!
corina
October 10, 2015 at 2:50 pmGet to maintenance as soon as you can! I usually get there within the first couple of weeks!
Heather Rogers
September 26, 2016 at 8:39 pmI have been reading this series to get some ideas for when my little guy starts preschool in Nov. (we have to wait until hes 18 months) and really love the balance you are providing! I regularly prep breakfast sandwiches for my husband and myself and was using a muffin tin to cook the eggs (too small but the easiest option when making 10 at a time) but, recently found these muffin top pans on amazon: https://www.amazon.com/Chicago-Metallic-Non-Stick-Original-Muffin/dp/B003YKGRBY. They gave me perfectly sized eggs and perfectly sized homemade ground turkey sausage patties. Highly recommend! 🙂